Animation through SketchUp

SketchUp is known for being a free and simple 3D modeling program, adaptable for specialists, understudies, and experts. It's accessible as a web application or an independent program for Windows or Mac.
It has different contributions, including a few yearly memberships (free or paid) and a one-time buy for a full permit. The totally free form ceased in 2017, yet it's as yet accessible for download.
Beside being a conventional tool for CAD, SketchUp is additionally fit for making fundamental flythrough-style movements. Moreover, on account of modules, the program can turn out to be significantly increasingly incredible, permitting you to vivify singular items with free movements.
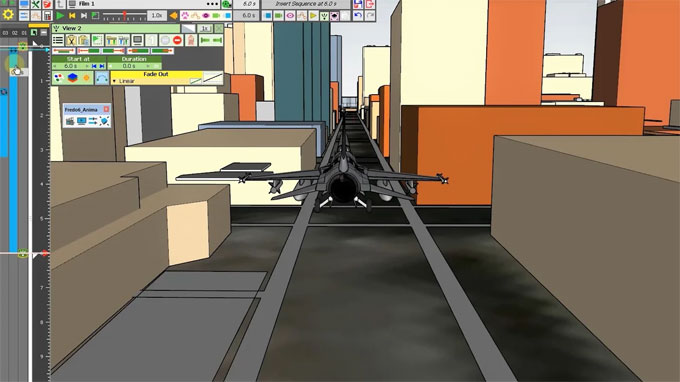
Right now, be talking about how to utilize the local activity tools inside SketchUp and afterward jump into the utilization of the extension Animator. This is the fundamental tool that lets you enliven your articles exclusively, permitting you to take a shot at your models in a timelined film producer like interface.
Fundamental Animation: SketchUp's local movement copies the impact of moving a camcorder through a space. This is best for vitalizing a walkthrough or flythrough of a static model, which is splendidly proper for exhibiting compositional structures, scenes, and definite insides and outsides of building models.
Making a movement with this tool is straightforward: Capture the key scenes you need the liveliness to show, and afterward orchestrate them in a request that is exactly as you would prefer. You don't have to catch each edge for your activity; SketchUp will compute the smoothest way to progress starting with one scene then onto the next.
Steps for a Walkthrough Animation: Make and catch the main scene you might want to have in your activity. You can catch a scene by clicking "View > Animation > Add Scene".
Explore through your model and pick the following positions. For each ideal scene, rehash the initial step.
You can utilize different camera tools like circling ? tapping the center mouse button ? and panning ? Shift + center mouse button. These can likewise be enacted in the camera toolbar.
To show the camera toolbar, click "View > Toolbars > Camera". Enacting orders in the toolbar will let you explore through the model utilizing the left mouse button rather than the center mouse button.
Compose your scenes into the ideal request by right-tapping the scenes in the scenes bar and moving them left or right. Besides, in "Scenes Dialog", you can rename every scene.
To get to the scene progress and defer settings, explore to "View > Animation > Settings". Scene change is the ideal opportunity for the camera to make a trip to the following scene, while scene delay is the time dispensed for a respite in every scene. For smooth movement, the scene postponement ought to be set to 0 seconds.
When you've organized your scenes, perceive how every scene advances to the following by choosing the following scene on the scenes bar. To play the whole activity, click on "View > Animation > Play".
Fare your completed movement as a video document by going to "Record > Export > Animation > Video" and picking your ideal record position.
Improving Transitions: You may have made a movement effectively, yet maybe the advances don't appear to be very right. In these cases, you can attempt to add extra scenes in the middle to make changes regular. A typical model is SketchUp producing a progress that travels through a divider. Here, including a scene in the proper entryway will probably help.
Smoothing Animation: At the point when you discover your activity somewhat unsteady and with unnaturally unexpected camera developments, you can alter your scenes by utilizing the tools in the Camera toolbar.
The most accommodating tools in refining your scenes are "Glance Around" and "Walk". Check out lets you change the point of the camera without changing its position. Walk changes the position yet keeps the camera at a similar point.