How to view SketchUp Model in ArcGIS Urban?
3D models are important as it helps to envision what new developments might look like. It is becoming a necessity to utilize the models in GIS. To understand the real world development of a potential project you can upload your 3D models by using ArcGIS Urban.
This article will focus on the steps involved in exporting your SketchUp models and then importing the model into ArcGIS pro, sharing it ArcGIS online and ultimately adding the published model to an ArcGIS project as a scenario.
EXPORTING FROM SKETCHUP
To begin with, you must export your project model from SketchUp to a model type that must be compatible to be imported into ArcGIS Pro.
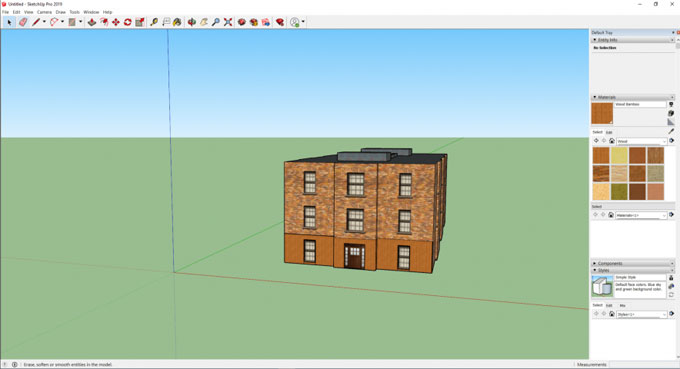
1. Open SketchUp Model.
2. Select the entire model and right click the model.
3. Select Make component and name it.
4. Replace selection with component must be checked off. Press Create.
5. Select File, export and choose 3D model. Save the model as COLLADA (.dae) file.
IMPORTING INTO ArcGIS PRO
1. Open a new ArcGIS Pro Project and select a new Local Scene.
2. In the Catalog tab, select your File Geodatabase.
3. Right click Geodatabase and scroll down to New, and then select Feature Class.
4. Input a Name and Alias.
5. For the Feature Class Type, select Multipatch, after which you should select Finish.
6. Go back into the Catalog and add the new Multipatch Feature into the Scene Window.
7. Select the Edit tab and go to Create.
8. Select the option Model File and press the Green Plus button.
9. Find your COLLADA file and the click OK.
10. Use your cursor to select the location where you want to put the model and press Left click.
11. Go back to the Edit tab and press the Save option.
12. To fit the model in the exact location select the newly added model and use the Edit Tools to edit. Always remember to save any changes you make.
STEPS TO PUBLISH MODEL IN TO ArcGIS ONLINE AFTER ADDING IT TO ArcGIS PRO
1. In the Table of Contents, Right Click the Multipatch Feature Layer, go down to Sharing and select Share as Web Layer.
2. Give your item a name, summary and a few important tags. Choose a Folder to save it in, and select a particular sharing option, such as Everyone.
3. Press Publish.
HOW TO VIEW YOUR MODEL IN ArcGIS ONLINE
After hosting the model on ArcGIS online as a scene layer, now learn to view it.
1. Sign in to your ArcGIS online organization.
2. Go to your uploaded Scene Layer under your Contents.
3. Click on the thumbnail to open your Scene Layer in a Scene.
FINALLY, ADDING THE MODEL INTO ArcGIS URBAN
We will now be able to add the Multipatch model into ArcGIS Urban and view it with the surrounding context.
1. Open the ArcGIS Urban Model.
2. Press the Add Button and select Projects.
3. Draw in the new Project Polygon and click Add Project.
4. Fill out some information such as the Name, Description, Status, etc. Click OK.
5. Select new Project, go to the Options button and select Configure.
6. Go to the Scenario tab and choose a Scenario.
7. Under Design Visualization, select your uploaded Scene Layer and click OK.
8. Press OK again and go back into the Urban view.