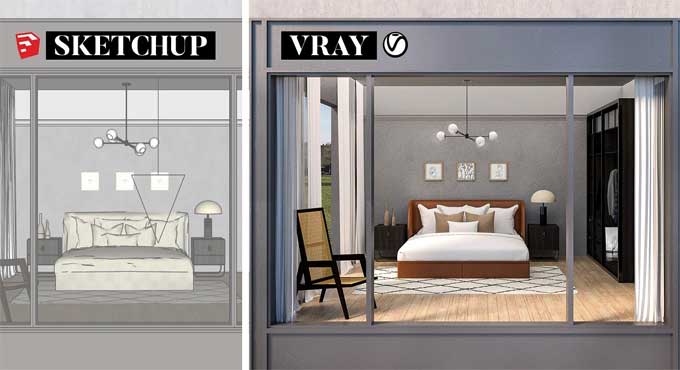
Guide on using V-Ray for SketchUp to Render Interiors

These methods have made it easier for hundreds of professionals to comprehend what goes into producing gorgeous, lifelike renderings and steer clear of the frequent problems that cause individuals to struggle with V-Ray. And in this post, we'll outline the seven essential knowledge items you should have before starting your first interior rendering in V-Ray for Sketchup.
By following these steps, you can create photorealistic renderings quickly and efficiently. With a good understanding of the basics, you can create beautiful, high-quality renderings in no time.
Using V-ray for SketchUp to render interiors
The following tips will help you avoid the most common problems encountered when rendering interiors in V-Ray for SketchUp for the first time.
But before we begin that list, let's consider a few points. Render-ready SketchUp models are the foundation of every good rendering.
Make a low-resolution draft copy
Making modest, incremental tweaks and rendering after each one to assess the results is the key to putting up superb renderings, which necessitates regular rendering.
Secondly, smaller pictures render more quickly, so reduce the quality as far as you can while still being able to see how each adjustment will affect the final product.
Moreover, there are three rendering options: interactive, progressive, or bucket rendering, which is used by default if neither interactive nor progressive is switched on.
Both can be beneficial in different circumstances but use progressive for rapid test renders. With this combo, you'll be able to get results fast and determine whether your adjustments are having the desired effect.
Interior lightning
The materials might be distracting during that stage. Use the material override function to disable them. Now that all surfaces are rendered with the default shade of mild gray, you can better concentrate on the lighting. There is only one issue.
It is important not to interfere with window glass that let's light into the room, so here are two ways to avoid that:-
1. Ensure that you're using a pre-configured V-Ray material for the glass in order to achieve a more accurate reflection and refraction.
2. The SketchUp glass material can be found in the V-Ray materials list, and all objects in the scene can be selected with it. Then Apply a V-Ray glass to the selection by adding it to the in-model material list.
Moreover, using a V-Ray glass material instead of a SketchUp glass material allows for enhanced realism, making sure that the light is accurately reflected and refracted.
Set up your key lights
Either the V-Ray sun or a V-Ray dome light can be used. In order to assist you to choose the best alternative for you, let me evaluate the possibilities. Various rendering conditions would necessitate different solutions. Let's begin with the standard sun in V-Ray.
This is the best option if you require very precise shadows because it is controlled by the geolocation and shadow settings of your SketchUp model. Even though this option is the easiest to utilize, there is another one that frequently yields superior results. To add more realistic daylight to your picture, utilize a V-Ray dome light.
This light is more realistic since it's based on an HDR image, which is taken in a real-world environment and captures all of the information about the sky's lighting and color.
Carefully place the fill lights
Keep in mind that the finest outcomes frequently arise from positioning a fill light at around a 90-degree angle to your central light. Also, if at all feasible, the key light and fill light should be on the opposite side of the camera.
This allows for greater contrast between the key and fills light, which will create a more dynamic look. It also helps create more depth and dimension in your scene, making it look more realistic.
Again, as a general rule of thumb, a rectangular light works best for spreading light out and making it softer. To achieve the desired effect, keep in mind that after you add fill lights, you'll need to balance their intensity in relation to your primary light.
To learn more, watch the following video tutorial.
Video Source: SketchUp School
Background
A window with a view of the outside will require you to decide what to show in the background, and there are two options to choose from:-
1. SketchUp can be used to model the background,
2. The image can be added later in Photoshop if you leave it blank.
Leaving the background blank has its advantages: it is simpler to do and you can choose from a wider range of photos to add later. It also allows for more customization and creativity.