Tips to apply sun light in a interior scene with vray for sketchup

This sketchup video tutorial briefly explains the procedures for applying sun light in interior. Sketchup Pro 2017 is used to create the model and the rendering is done by vray 3.4 sketchup.
With V-Ray Sun and Sky, it is possible to perfectly illustrate the sun and sky for reproducing the Sun and Sky easily. They are projected to work jointly and react to the angle and direction of the sun.
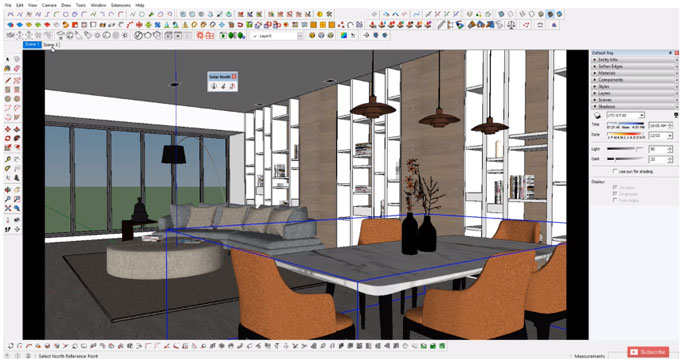
To obtain the sun location, in click "Windows" in the main menu, choose "Model Info", then choose "Location". It will facilitate to choose a location of the sun. The time and the day in the "Shadow Setting" should be controlled properly.
To utilize the sun perfectly, it is essential to apply it together with the Physical Camera. To retain the characteristics of the model, the sun should be held adjacent to its exact intensity.
To prevent the deep brightness of the sun, it is necessary to form a perfect exposure of a scene with the physical camera. With the physical camera, it is also possible to precisely capture the exact colors of the sky as well.
The properties of the sun in V-Ray for SketchUp are managed in combination with the Physical Sky properties under the Texture Editor for GI(Skylight) under Environment render options. Here various controls are available to modify the appearance and affect of the sun.
To get best result, use the physical camera with the sun, access the V-Ray Options and in the Camera rollout activate the Physical Camera. To ascertain the proper exposure, it is required to perform a quick render of the image. If the image becomes too bright, or overexposed, then modify the F-stop, shutter speed, or ISO value to recover.
It is advised to view the color values in Float format, to facilitate finding out the perfect brightness of your image. It is viewed by right-clicking and holding anywhere in the frame.