SketchUp Pro Curved Surface Tutorials

Curves are a fundamental drawing ability you'll want to master as soon as feasible if you're interested in 3D drawing because they are a crucial component of your skill set. Let's look at creating a curved surface in Sketchup in more depth.
This article will teach you how to construct the ideal Sketchup curved surface for your project, no matter what it may be, and which Sketchup curved surface plugins you may want to choose. It will also tell you which tools and techniques are available for achieving Sketchup curves. By the end, you'll fully understand how easy and natural it is to confidently make anything curly.
Curves in SketchUp
Sketchup has other methods for making curves, which is helpful to know. The possibilities are almost endless because there are numerous diverse approaches. A variety of conventional techniques, tools, and extensions make it easy to create curved forms.
Extensions in Sketchup serve a similar function to plugins. They are individual tools created to carry out a particular task more quickly, easily, or without following the conventional pro tool path. Curves are a pleasure to work on because of all this.
It matters since the current design relies heavily on Sketchup curves. The aesthetic appeal of organic shapes is seen in both common and remarkable objects. Curves are comforting. We have an innate attraction to sleek, smooth lines and shapes. And so many of nature's shapes are curved.
Methods to create a curved surface
Push-Pull method: An arc typically consists of numerous connected line segments, but in your model, it is only one whole. A face's edge can be defined by an arc, and the face can also be divided by one.
When you move your cursor over the points you've added, SketchUp recognizes each segment that makes up the arc and highlights them in order to reveal their geometry, which will make the designer customize the angles even better.
Arcs Method: An arc will be smoother with more segments, but it will consume more resources in Sketchup. Using fewer segments speeds up the process, but the trade-off is an arc that could appear a little blocky, as it depends on the drawing's intended use.
You could want to make things appear as seamless as feasible for work that is ready for the client. You might be fine with fewer segments and a less-smooth Sketchup curved surface for an initial sketch or early draught.
There are lots of other tools within the arch method to help you make a Curvy surface in SketchUp.
2 Point-Arc method
1. By clicking and defining one end of a 2 Point Arc using a pencil, you can create arcs intuitively.
2. The other end can be pinpointed by clicking again.
3. The bulge of the arc can be defined with a third click.
3 Point-Arc method
The 3 Point Arc tool also transforms your cursor into a pencil and delivers results in just three clicks.
1. The starting point is set with one click,
2. The pivot point is set with another, and
3. The endpoint is set with a third click.
Sandbox methods: Another great method for creating Sketchup curves is using the sandbox tools in Sketchup Pro. Sandbox tools are perfect for drawing berms, ponds, rolling landscapes, and other necessary and inventive curved surfaces.
Here is how you can create a curved surface using the sandbox method:
1. Create a grid by selecting "Sketchup Pro Sandbox Tools"
2. Go to the sandbox and choose the "smooth" tool.
3. You can pull and mold a simple flat shape into a variety of intricate curved surfaces by clicking on the flat grid and specifying a radius.
4. To make the curving surface smooth, use the "soften edges" tool.
A selection inside your TIN can be quickly and simply divided into smaller triangles using the Add Detail tool, providing you with more precise detail wherever you need it.
Additionally, there is a tool in Sketchup designed specifically for repairing flat regions that result from importing Google Earth contours or terrain.
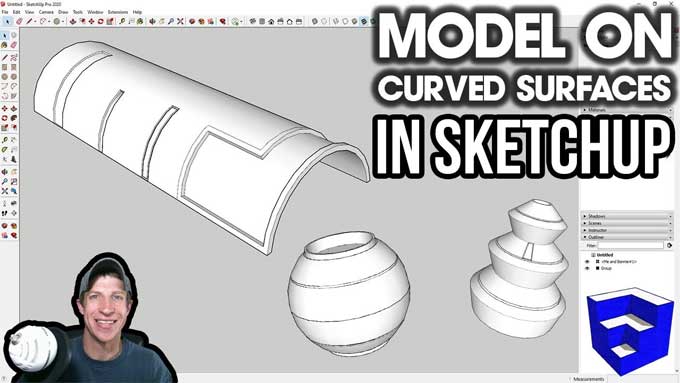
To learn more, watch the following video tutorial.
Video Source: TheSketchUpEssentials
Many other SketchUp extensions: Many Sketchup curved surface plugins offer great Sketchup extrusion capabilities, including those with curved surfaces.
A component replacer can be used to generate a wide range of fascinating amorphic shapes. A 3D rotate tool, an align tool, and three separate face division tools are available. Additionally, you can randomly scale various components.
The next tool rotates and scales randomly in one go. The upright extruder also rotates and scales randomly.
The "follow-me tool" provides a three-dimensional twist on extruded faces while maintaining the upright position of the extruded faces. In addition, you will be able to fill in coplanar edge loops by using the face finder tool.