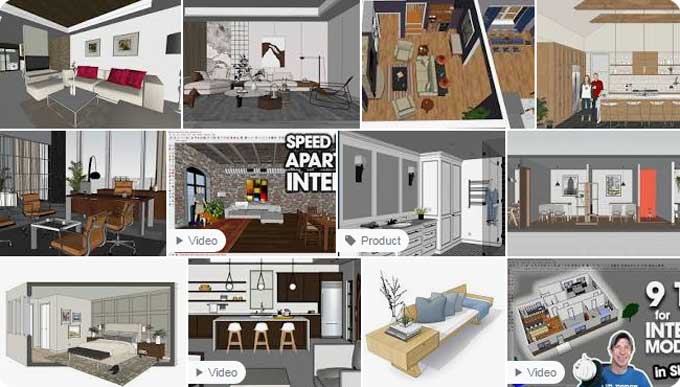
An Introduction to SketchUp for Modeling Interiors

Professionals and amateurs alike agree that SketchUp is user friendly alternative to the more complex software usually used in architecture. It takes practice to learn everything SketchUp can do, just like with every other interior modeling software.
Apply SketchUp from the Start
When sketching rough ideas for an interior design, we recommend using SketchUp right at the beginning when modeling the interior design. You will use SketchUp anyway, so be sure to note down the measurements on the screen.
In addition to creating better accuracy, SketchUp should be used from the beginning. When you transpose the measurements on screen, you can see how the room will look during design.
Layer
With SketchUp's layers feature, you can showcase several interior design options in the same space and gain a great deal of control over the model. In a living room environment, for instance, two or three different layouts can be created and layered.
You can toggle each layout on or off without changing the entire model since each is placed on its own layer. All layout options do not require separate living room spaces. Adding individual scenes to each layout allows you to switch between options more easily.
Material Addition
Once you have completed the internal modeling process, it is time to add materials to the objects. Getting precise details on every 3D object can be tempting in the middle of a project.
You may even be asked to incorporate fabrics, paint swatches, or textured objects from your clients into your designs. You should file those items away unless you are near the end of your work.
You do not just design the rug and kitchen countertop; design the entire interior space. Instead of completing the job on time, you can get hung up on those details. It is more difficult to see the edges when fixing geometry as a result of those details.
Geometry Organization
You may need to construct some interior walls as you begin designing the interior design of a house. The walls in your interior will merge with everything else they touch if you do not use groups and layers. It is not possible to add a door or specify a different height to just the wall, hoping that it will not affect the other components.
Alignment
Ensure everything is aligned correctly by paying attention to the axis. When you draw and move through the model, keep an eye out for those red, green, and blue lines. In the Styles window, click Edit. In the dropdown menu, click By axis if you are unsure whether or not the geometry is aligned.
Tables, trim, & fireplaces are indirectly connected to the main structure might not pose a problem. However, misalignment can cause many design problems with essential components, such as adding doorways and windows to an incorrectly shaped wall.
3D Warehouse Applications
You can find countless decorating assets in 3D Warehouse, a resource for interior design in SketchUp. A 3D Warehouse is generally believed to contain the exact piece of furniture you need, regardless of size, color, or pattern, due to its sheer number of options. It may be true, but never rely on an exact match for all your searches.
Even if you know the object exists in 3D Warehouse but have not yet found it, there is no need to find a duplicate of the specified furniture. A later version of the asset can be rescaled, it can be given material, or it can be colored differently. When you present a design to a client, you can also include an image from a tear sheet.
Tape Measure Tool Application
Going back and reorganizing everything in SketchUp can be challenging. Throughout the modeling process, never wait until there are too many pieces to organize before creating groups and layers. When fragments are organized into their groups and layers, you prevent them from merging unintentionally and causing problems.
Imagine you want to design a door in a wall, and all the geometry needs to be grouped separately. Determine the placement and width of the door using the tape measure tool. The width must be specified by drawing two parallel lines perpendicular to the wall but correctly spaced between the desired widths. There is no need to fill up the door opening by pushing or pulling the wall.
Floor & Wall Locking
Most interior design models do not require moving walls or floors very often. Although it is not uncommon for seasoned users to accidentally move these two important components when sliding furniture, rugs, decorations, or other interior design items.
You may accidentally move the cursor ever so slightly before setting it down when the cursor hits the wall. It may not be obvious that the position has changed. There must be no changes made to the walls, floors, or essentially the shell of the building.
The designer can prevent any accidental movements by locking the walls and floor as soon as they are correctly positioned. The walls and bases can no longer be dragged on the screen once the geometry has been locked. When moving various interior pieces and trying out different arrangements in a room, it is useful.
To learn more, watch the following video tutorial.
Video Source: TheSketchUpEssentials
Model Overlapping
In addition to 3D Warehouse or other resources, there are thousands of readymade assets you can use to design your interior.
If you are working through the schematic design, it is easy to become distracted by those tiny, pretty, colorful ornaments. When you get distracted, you are more likely to drown in the endless decoration options.
In the final stages of the design process, adding little details is important. This time should be saved for when you render the image since it is distracting.


