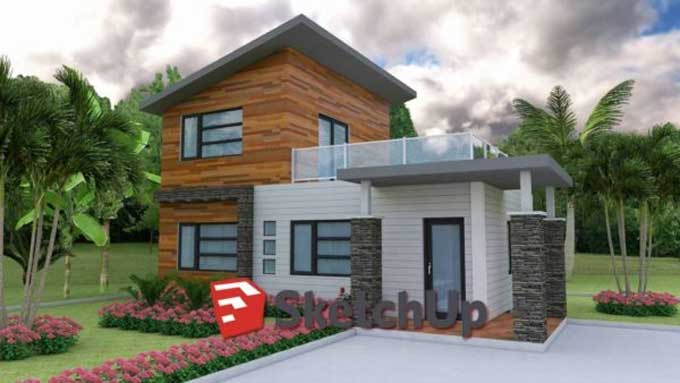
SketchUp for 3D House Modeling

Modeling a 3D house in SketchUp will be presented to students. As each modeling program has its unique interface, 3D modeling is a talent that requires continuous learning. With SketchUp, you can create 3D models, architectural renderings, and more.
Building a house for students can be used for game assets, renovations, physical building designs, and much more. Despite being a 3D building application, SketchUp has many uses.
Activity
There are two types of activity. There are: Non Computer Activity, Computer Activity.
Non Computer Activity
1. Let's first draw a house using pencil and paper before we work on the computer. When we design on a computer, we will use this as a guide. Using a reference when building a 3D model is very helpful for keeping things in perspective.
2. We use it to model what we are going to do. We will use it as our blueprint for what should be in the final product, though the image is flat and two-dimensional with few details.
3. You do not have to make your model look exactly like your drawing, but having a guide makes it easier to remember what to create, and helps you stay on track.
Computer Activity
Student will create 3D model with their 2D diagrams.
1. First, Students will explore the interface of SketchUp. A blank world and a menu window are available. Stacy appears in the world. Erase Stacy by clicking the right mouse button. Users often keep Stacy in their models to show how big their model looks next to a human. When you click on Instructor in the Window menu, a helpful window appears.
It provides information about the tool that you are using, in addition to animation. SketchUp beginners might find this helpful. Scaling your model is easy with SketchUp, and SketchUp can measure dimensions on your behalf. A traditional Files and Help toolbars appear in the upper left corner.
2. Students will most likely use the default toolbar, Getting Started. Several editors and builders can be found in the Default Tray on the right-hand side. The Material dropdown will be the only option for this module. As well as the X-axis, Blue, Red, and Green axis represent the Y-axis, X-axis, and Z-axis. Use the circled arrows on your toolbar and the hand tool to move around. If you don't see the circles, click on the circled arrows on your toolbar and use the hand tool.
3. Design your floor plan or build the foundation for your house. The Lines tool is accessed by clicking and dragging the pencil icon across the screen on the Getting Started toolbar. There are rules in SketchUp that force you to draw your lines along the blue, red, or green axis. This will align your shapes with the perspective grid and keep them aligned as you draw.
Using Ctrl+Z will undo a mistake, or ESC will stop drawing or selecting lines if you make an error. When you have created your floor, use the Push/Pull tool to add dimension. You can raise or flatten an individual side by dragging the mouse up or down.
4. It is essential to have a roof over every house. The best way to build a triangular roof is to find the midpoint of your base using the line tool and moving your mouse along the wall until you see a blue dot indicating the center of the triangular roof, and then drag your mouse upwards. The middle line of the base should be connected to the edge of your roof as you build the roof.
5. Next, you want to build the rest of the model by referring to your reference drawing. This course won't require you to create a rendered 3D model, but SketchUp is equipped with a wide range of powerful tools. The extension warehouse under the Windows tab contains a variety of objects and materials.
6. You need to color your model. Paint buckets can be considered as coloring tools. You will see a variety of color options available in the Materials dialog box. There is also a drop-down menu where you can choose different materials, such as Wood, Metal, Stone, etc.
The Edit tab of the drawing program lets you adjust the hue, size, color, and opacity of the colors and textures. Alternatively, you can click on an area of the model to then customize it, making it look like your original drawing.
7. Throughout the process of building your model, you should try out various tools. Aside from designing the outside of your home, you can also design the inside.
With SketchUp, interior designers and architects develop house plans and renovations. Therefore, you have access to a wide range of tools.
Conclusion
Following our introduction to 3D modeling tools, students can practice learning, working from reference drawings they have made, by modeling other objects. A car or an animal could be made instead of a house.