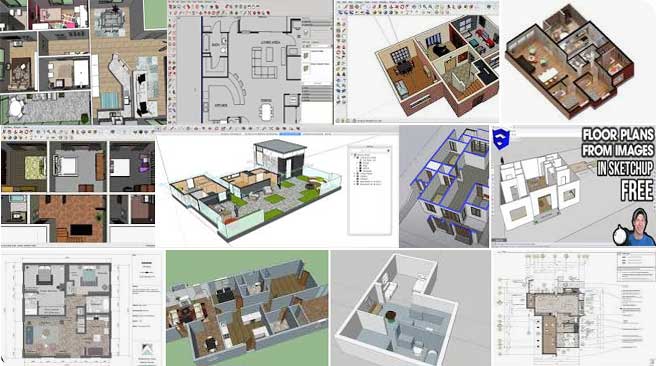
How to Create a Floor Plan with SketchUp : Easy Steps

If you follow the few steps in this article, you'll find SketchUp to be a fantastic tool for completing this step of the design process.
Regardless of whether your goal is to create a 2D floor plan in SketchUp that you'll convert to a 3D model later or you just want to draught a quick floor plan in SketchUp to share with a client. Furthermore, utilizing or being familiar with AutoCAD or any other CAD tool is optional.
How to Create a Floor Plan in SketchUp in simple few steps?
Here are a few easy steps to make a floor plan using SketchUp applications:-
Create a 2D floor template first
It is advised that you utilize a template that starts you with a plan view of a top-down view for any project you work on in SketchUp. When you use SketchUp to generate a floor plan, this becomes much more crucial.
1. Select Template in the Preferences box.
2. The template will have a different name depending on whatever version of SketchUp you're using.
3. Plan View or Construction Documentation might be written there.
4. For Windows users, you must click the button in the bottom right corner to complete the process, and for Mac users, you just have to close the window.
The template of your existing file won't change any longer, but a new file will start in the new template. You won't have access to the template you require if you're using the free SketchUp web-based edition, but you may come close by selecting a top view from the Scenes menu.
Here's a short reminder on how to change your template. If you use Windows, you should choose Window from the top menu to launch SketchUp Pro. You should choose SketchUp if you are running SketchUp Pro on a Mac.
Draw the floor as per the plan
You will either be beginning with an existing floor plan in a SketchUp file or from measurements gathered in the field for the majority of your 3D projects.
Drawing the floor is the initial step after you have your dimensions. You'll need to utilize one of SketchUp's fundamental drawing tools, often the Line tool or the Rectangle tool, to do this. The most flexible tool is the line since it allows you to lay out the floor design in SketchUp by going around it dimension by dimension.
In order to create a line or an edge, click to start drawing in a direction, write a measurement, and then hit Enter or Return on your keyboard to complete. Simply keep going around in this manner, accessing each dimension one at a time, until the footprint is drawn.
It's important to keep in mind that with SketchUp, you draw at a scale of one to one, so if you draw a larger rectangle and it seems little, it's just because your SketchUp camera is zoomed out.
Plan and draw the exterior walls
Okay, after drawing your floor, use the Offset tool to build your outside walls. Here are the steps to use the offset tools properly:-
1. Select the Offset tool to achieve that. On the face, click once.
2. To start offsetting the wall, move the mouse.
3. Press Enter or Return on your keyboard after typing the wall thickness measurement.
When making doorway apertures in SketchUp, there are a few ways to accomplish this, but if you are unfamiliar with SketchUp, we recommend using the Tape Measure tool to create precise guidelines that show you exactly where your window and door openings should be.
Plan and design the interior
Draw your interior walls as the fourth step and for beginners in SketchUp, it is better to build guidelines using the Tape Measure tool and the dimensions from your field measurements.
Then, trace each wall section using the Rectangle tool. You may remove any extra borders as you go by using the Eraser tool.
And once you've drawn in the entire inside walls, just keep going back and repeating these processes. You have two choices if, at any point along the journey, you find that there are too many rules getting in the way.
Draw windows and Doors
The last step is to add your windows and doors. In SketchUp, components—a geometry that is created to represent things in your design, such as windows, doors, fixtures, and furniture—are analogous to blocks or symbols in other CAD applications.
Once more, you may start by establishing two guidelines that represent the window's width using the Tape Measure tool. Draw your window using those lines as a reference.
To learn more, watch the following video tutorial.
Video Source: SketchUp School
Add your 3D furniture and other models
Using SketchUp to create your floor plan is one of the best ways to create all the 2D elements.
However, one fantastic feature of components is that, once they have been designed by someone, they are really simple to share and reuse repeatedly. The 3D Warehouse in SketchUp is a fantastic place to start if you're seeking shared 2D components.
Follow these procedures to access the 3D Warehouse in SketchUp:-
1. Select Window from the top menu.
2. Then decide on 3D Warehouse as your option.
3. Enter 2D and the name of the thing you're looking for in the 3D Warehouse search box.
Finishing touches
You are now prepared to take your SketchUp floor plan in whatever way you want. The first thing to keep in mind is that, unless you're adding color and materials, you probably want your SketchUp floor plan to be black and white.
To make it more interesting, you could want to add some colors or materials. Then you may quickly add a title block, labels, or measurements in Layout, perhaps.
Or perhaps you're prepared to begin 3D construction. These principles will help you prepare your floor plan in SketchUp for presentation to a customer or colleague.


