An Introduction to Sketchup Materials for Assigning Maxwell Properties
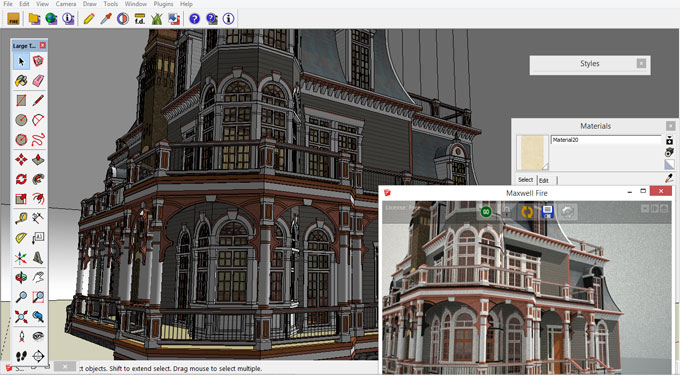
The idea of the materials tab is that you must have selected a material that you want to work with. The most common way to select a material in SketchUp is by coming over to the window tab and then coming down to materials and then working with the SketchUp material panel. If you click on one from the panel you will notice that it is immediately loaded and you can work with all its settings right in the tab that opens up.
When you are working with material in the Maxwell for SketchUp plugin you have two special modes of working with that material. The first is the character type, you can see the character setting right in the tab, now the idea of working with a character type is that these are done within the Maxwell for SketchUp plugin and they are completely self-contained within SketchUp.
The important thing to understand that it will become one of the most important elements to the stand-alone plugin users and the reason why is that there is no software needed to work with character type materials.
However, there is a second type of material to work with which is MXM mode. You will find the MXM mode in the tab and if you click that you will be switched to the MXM mode.
When you are working with MXM mode materials they are created outside of SketchUp, usually within MXed or within Maxwell studio. In the idea that the render version of the plugin you export material out and bring them in to edit and it is something that is definitely beneficial if you have the render switch version of the plugin.
However, if you are working with the stand-alone version you have to switch to the character mode where you will be spending most of the time. Now in addition to selecting materials in the material panel you can select by clicking on the dropdown list present on the top portion of the tab where you will find all the same materials that are in the scene.
If you select one from the list you will notice that the material is selected even when it is not directly selected from the materials panel.
In addition to that you will also notice there is an icon present of a dropper for selecting material, you will notice the same tool is present in the tool bar, if you click the icon and then click on a material in the scene you will notice that the material is selected which you will be editing later.
So, the idea here is once you have a material selected and want to modify and you are using the character then what you will do is you will come to the tab and choose a character type. Now by default you will notice there is automatic, but if you click it you will notice the drop-down menu and find a lot of different options to choose from.
Now if you are working with a jacket material you will be using satin or velvet but you can also use opaque. The idea here is that the soon as you change the character type you will get an update over at the preview and that is going to be showing what the material looks like. Now the important thing to understand about this is that you have some controls in the tab. First control is that you can change the render scene that you are using to preview the material.
Now if you go ahead and click on scene you will see that you have a bunch of different preview scenes. In case of the jacket you can choose drapery and you will notice that it is going to be rendered on your preview scene.
In addition to that you will see that you can change the size of the preview, and you can also choose the quality. You can increase the quality of a sample level of 10 and then reduce the shininess down and increase the roughness until you get the look of the perfect material using the character type of opaque.
To get online demonstration, watch the following video tutorial.
Video Source: Maxwell Render