Critical factors to know about LayOuts in SketchUp
Throughout this article, you are going to get a brief explanation of what you need to do when you're being introduced to LayOut for SketchUp Pro for the first time. Here, we are going to try to help you avoid some of those problems by providing you with some tips.
There are a number of things that you must know before getting started with LayOut and this article will provide you with some of those critical things.
Now you must remember these factors won't instantly transform you from a LayOut novice to an expert, but they will set you on the proper way to be an expert. And by the time you finish reading this article, you'll know enough to steer clear of many of the obstacles new LayOut users frequently encounter.
How do SketchUp and layout work together?
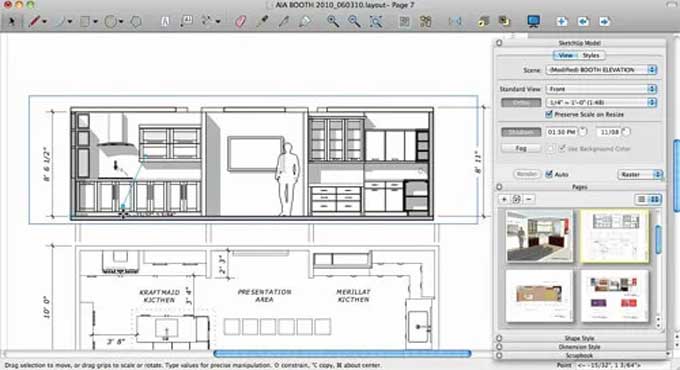
You'll notice a Viewport attached to your model when you upload your SketchUp model to LayOut.
LayOut then makes it simple to document your design. But this is the issue—and by far the issue— that individuals encounter when they first attempt to learn LayOut.
The layOut will abruptly change what you see in your viewport seemingly out of nowhere, messing up all of your annotations in the process. It's very annoying! The layout is actually just computer software doing its job, it seems.
LayOut's responsibility is to display the most recent stored SketchUp view until you instruct it differently.
The Viewport in LayOut will update if you return to work on your SketchUp file and save it since your SketchUp and LayOut files are connected. That's advantageous for design modifications, but detrimental when it ruins LayOut's Viewport.
Solutions
The simple solution to this is that always remember to create Scenes in SketchUp that precisely depict the views you intend to subsequently see on your LayOut Viewports.
When you configure your Viewports in LayOut to the right SketchUp Scenes, everything works flawlessly. Any design modifications you make to your Sketchup model will be preserved.
Critical factors about the LayOut
Always maintain a proper camera angle
When you want to set up a plan view, for example, and you want to use SketchUp's navigation tools to do so, it is not just frustrating, but it is actually also impossible to do so. This means that the simple answer to your issue can be found in the camera menu, where you can direct yourself to the drop-down view without having to circle manually around to find it.
You must disable the Perspective feature on your camera in order to view a more conventional 2D layout.
Lastly, frame your view using Pan and Zoom. The framing will be the same as what you'll see later in your LayOut Viewport. Don't forget to save your scene after that.
Each active section should have its own scene
Add a Section Cut to your SketchUp models if you need to display a floor plan, an elevation, or any other cross-sectional drawings. It can be a little challenging to get a Section Cut to appear when you need it and vanish when you don't after you create one, though. It is considerably more difficult to find the right part cut if there are several available.
The Active Cut is the one you add when adding a Section Cut. Right-click on the Section Plane and align your view to that plane to receive a view perpendicular to the cut. If you are finished using the Plane, be sure to hide it.
The proper way to use the Layers
You're going to require scenes that only display some elements of your model while hiding everything else while you're putting up your viewports in LayOut. You'll need to understand how to use Layers in SketchUp in order to accomplish that.
Layers in SketchUp operate somewhat differently from Layers in other applications you may already be using.
You need to comprehend the following ideas in order to successfully use layers in SketchUp. Every file begins with Layer 0, which is the default layer. Since it is the first layer to become active, Layer 0 will contain all of the edges and faces you draw.
When creating new layers, you should follow these three rules:
1. Active Layers should never be customized.
2. Create Groups and Components for everything you draw, then assign each Group and Component to a new Layer you just made. Plan ahead for the Layers you'll require.
3. When you want to conceal and reveal a group of related Groups or Components, select them all and create a new Parent Group at a higher level. Then, assign the new Parent Group to a Layer that you may conceal and reveal.
Give separate identity to every component
There will be a lot of typing and opportunities for errors if you have a lot of items to label. So, while creating your Groups and Components in SketchUp, be sure to give them appropriate names.
To learn more, watch the following video tutorial.
Video Source: SketchUp School
Later, the Label tool in LayOut is intelligent enough to automatically show the name rather than requiring you to input it again, which may save a tonne of time.