Methods to create various glass designs using SketchUp

The use of glass in architectural visualization has become a common practice in recent years. We can use it for all kinds of surfaces and objects in our interior spaces not only for doors and windows but also to personalize and add a touch of personality to the spaces when it comes to doors and windows.
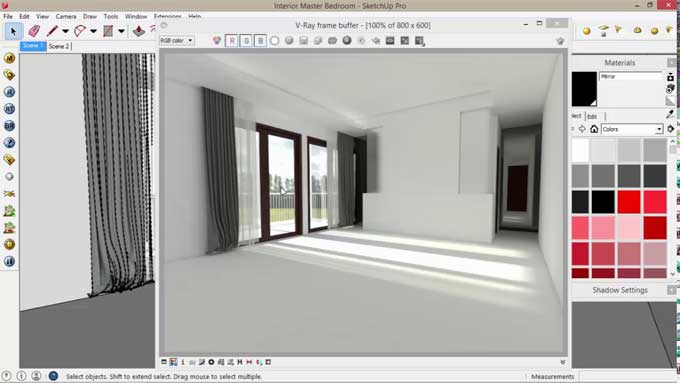
Steps to create a clear glass outlook
1. The first thing you will need to do is create a generic material within the asset editor of V-ray to make the clear glass material.
2. Then the V-ray material parameters can be opened by clicking the arrow icon after you have created and renamed your material.
3. You can adjust the material parameters to match the look and feel you desire.
To make the glass clear
1. A clear glass material can be decorated with black diffuse colors since this won't have much of an effect.
2. Glass materials to look clear should have a minimum reflection color value in order to maximize reflectivity.
3. Light passes through objects according to their refraction color. Materials that are opaque are used at the lowest value, and those that are translucent are used at the minimum value.
Steps to create tinted glass materials
1. Since we have already created a clear glass material, it will not be very difficult to create a tinted glass material in the same way.
2. It is important that we apply the same V-ray material settings for the fog as we did for the clear glass and adjust the fog color under the Refraction tab just as we did for the clear glass.
3. There is an option to leave the foggy color value at its maximum and to adjust the appearance of the material by selecting the color box rather than the fog color value.
4. Also, you can increase or decrease the intensity of the color by using the Fog Multiplier in order to change how strong it is.
Steps to create frosted glass object
1. By using the refraction parameter together with the Frosted Glass material, you can also create Frosted Glass very easily. In order to adjust the Refraction Glossiness parameter, all you need to do is adjust the value.
2. You should set your maximum value to 1 if you want your refractions to remain sharp, and any value below this will result in a frosty appearance.
3. The frosted glass material can also be enhanced with a bump map to produce a more defined appearance of frosted glass.
Steps to create Gradient glass object
Compared to gradient glass, we have created some previous glass materials that are a little less complex than those we have developed so far. In order to get things going, let's use the same parameters as we did with our clear glass material in order to assemble the material.
For a gradient glass material, we need to add a gradient map and choose Fog Color under the Refraction tab.
Using the settings provided below, create your gradient map:-
1. It is recommended that you set your gradient map to "V."
2. Make your choice of color and
3. Color fade-ins and fade-outs have a starting point and ending location choose that location wisely.
Bump Mapping in relation to creating glass structure
As far as computer graphics is concerned, bump mapping refers to a method used for simulating bumps and wrinkles on the surface of an object using texture mapping techniques.
When the bump map value is white and sunken, it creates the illusion that a raised surface is present as a result of a grey-scale map being used. In the case of a black bump map value, the illusion will be dropped.
To learn more, watch the following video tutorial.
Video Source: TheSketchUpEssentials
Steps to create glass texture using bump mapping
1. Use the clear glass parameters and add a gradient map in the bump settings.
2. Then adjust the color parameters to achieve a smooth transition between the shades.
3. Once you have organized your color transition, select the repeat UV tab and increase t repetitive value.
4. Then you have your glass material ready.