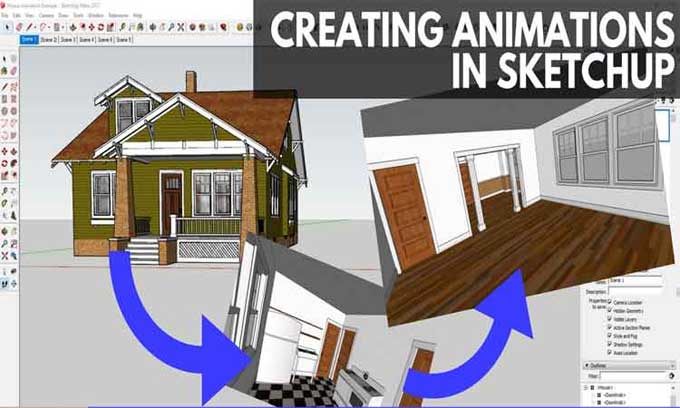
Recommended Steps to animate a scene using SketchUp

You may produce different perspectives of your work and save them as separate photos by creating scenes in SketchUp.
The advantages of doing this include easy access to numerous viewpoints, viewing specific areas of your design with different textures or renderings applied, breaking down your model into portions for presentations, adding other views to shared models, and producing animation sequences.
This is how you can recreate a scene
It just takes three steps to create a scenario. But before you start, make sure the view is set up precisely the way you want it, with the styles and other elements applied to each.
#Step 1: Using the Windows tab, select Scenes under the Objects section.
#Step 2: Add a scene by clicking the Add Scene button.
#Step 3: Now that you've created a new scene, you're able to change the name and add any other details you like.
Managing different properties of scenes you have added:-
Camera Location: Your point of view and zoom distance can be adjusted according to your needs.
Any Hidden Geometry: The contents of a new scene are hidden when it is loaded. Hiding elements will be displayed if you uncheck the box.
Visible layers: Layers may be used to control which portions of a document are shown, therefore you might want to keep showing them in your saved scenario.
Styles: Each scene you build will have its own stylistic parameters. You can choose whether or not to save the changes after editing them.
Active Sections: You could have made several different section planes for your model, just like the visible layers. Simply uncheck this option if you do not want them to show in your scenario.
Configuration of shadows: You may observe shadow characteristics at different times of day by creating Shadow settings for each of your scenarios. You might or might not wish to preserve these with a freshly made scenario.
Animate a particular scene
A great method to demonstrate how your project changes over time are through animating scenes. This may be caused by passing traffic, people coming and departing, or possibly shadows moving over a structure during the day.
After building your initial collection of scenes, all of this is feasible and may be displayed as an animation in SketchUp, an MP4 file, or a group of images.
Steps to animate a scene using SketchUp
By selecting your scene in the Scenes Manager and clicking View > Animation > Play, you can animate your scene. In addition, you can click on the scene tab and choose the option to play animation by selecting the context menu.
Exporting Animations
Go to the main menu and select File to export your animations. Choose Export, Animation, and then Video. Choose or make a new folder, give it a name, and specify the file extension type.
The Options page allows you to make any last-minute adjustments to the animation, and to complete the process click Export.
Steps to Export image sets using SketchUp
An image set can be exported from your scenes easily. You will see the Export Animation dialog options by going to File > Export > Animation > Image Set. The root name for your images needs to be entered, and the image type should be either .jpg, .tiff, or .bmp.
If you would like to change the resolution or anything else, click on Options. Once you've made the changes, click OK to finalize the process. After that, click Export to complete the process.
To learn more, watch the following video tutorial.
Video Source: TheSketchUpEssentials
Watermarking your work on SketchUp
After sharing your SketchUp model, watermarks are great for keeping your designs private and preventing unauthorized reproductions. Additionally, they are effective marketing tools.
Company names, logos, and other graphics may be placed in front of or behind your photographs and documents as needed. For whatever use you put them to, watermarking a model in SketchUp is really simple.
Steps to add watermark in your work using SketchUp
#Step1: Creating a watermark begins by selecting Window > Styles. Upon launching the Styles browser, you will see its contents. When you click the Edit option, you will see an icon for Watermark Settings.
#Step 2: By clicking on the saved copy of the image that you wish to use as your watermark, you will be able to access the file. You can choose from the following file types. jpg,.png,.psd,.tif,.tga, and.bmp.
#Step 3: Your watermark will now have a name once you have opened the Creative Watermark window. By clicking on the Background or Overlay buttons, you can place the picture in front or behind your model.
#Step 4: After clicking Next, change your watermark transparency, and add a vignette mask based on your preferences.
#Step 5: Select the location of your watermark by clicking Next. The image may now be enlarged to the required size. You may also enable your image to fill the entire screen by unchecking the Lock Aspect Ratio box.
#Step 6: Click Finish to complete the procedure after you are certain that the watermark appears precisely how you want it to.
#Step 7: After you have imported your picture, utilize the Edit Watermark Settings button to make any necessary changes. If you'd like, you can also remove it and start over.