How to make Animations using SketchUp?
A popular free and simple 3D modeling tool, SketchUp is useful for amateurs, academics, and professionals alike. On Windows or Mac, it's offered as standalone software or as a web application.
SketchUp is a general-purpose CAD program that can also produce simple flythrough-style animations. Moreover, plug-ins extends the capabilities of the application by allowing you to animate different objects independently. The purpose of this tutorial is to show you how to use the native animation tools in SketchUp.
Some easy tips to animate your models using SketchUp
For Basic animation
The native animation in SketchUp simulates the movement of a video camera in three dimensions. The finest use of this is to animate a fly through or tour of a static model, which is ideal for exhibiting architectural designs, landscapes, and the intricate interiors and exteriors of building models.
Using this tool, making an animation is easy:-
1. Take pictures of the important scenes you want the animation to feature, and then organize them in the sequence you like.
2. For your animation, you don't need to record every frame since SketchUp will determine the easiest way to switch between scenes.
1. Create and record the first scene you want to include in your animation. You may record a scene by selecting the Add Scene option under the animation section found in the View tab.
2. Browse through your models, choose the following positions, and then repeat the first step for each desired scene.
3. By right-clicking the scenes in the scenes bar and dragging them left or right, you may arrange your scenes in the order you like. Moreover, you may rename each scene under "Scenes Dialog".
4. When you've set up your scenes, click the next scene on the scenes bar to observe how one scene flows into the next. Click "View > Animation > Play" to start the animation in its entirety.
For better transition
Follow the steps to select your own transition options:-
1. Select the view options
2. Then the Animation option from the drop-down menu appears.
3. Then choose Settings.
Scene delay is the amount of time permitted for a stop between each scene, whereas scene transition is the time it takes for the camera to move on to the next scene. The scene delay should be set to 0 seconds for smooth animation.
Using section cuts to create animation
Section cuts are another tool for animating in SketchUp. You can make items appear and vanish using this technique when switching between scenes. For flythrough scenarios, this can be used with the prior animation technique.
Moreover, SketchUp, a native animation program, supports this. Keep in mind that you'll need at least two parts in your model for the following. Let's look at the steps to animate our scenes using the Section cut:-
1. Once you have created a scene, you can add it to your animation by using “View > Animation > Add Scene”.
2. Go to "Tools > Section Plane" to build the first section. The first piece should then be placed at a beginning location, such as the bottom or left of the scene. The items in your model will vanish as a result. Following that, select Update by using the right-click menu on your first scene. By doing this, the new (blank) scene will take the place of the original scene with the model.
3. The second portion can be made by repeating step two, but this time positioning it on the right or above the model. As soon as the new section is added to the model, it will become active and display the model's objects instantly. A second scene will be added to your animation when this second portion is active.
4. You can check whether the objects appear correctly by switching between the scenes in your animation.
Making animations using the Animator extensions
About the Animator
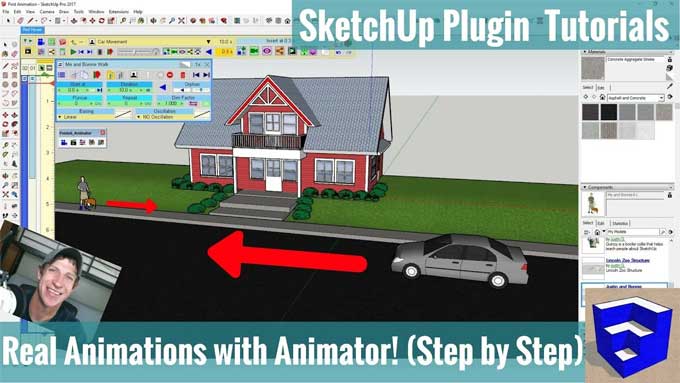
SketchUp's Animator is a potent tool. It allows for the creation of "real" animations that are simple to control thanks to an easy-to-use interface. The add-on, developed by Fredo6, allows you to independently animate any item in SketchUp in a variety of ways.
The Animator lacks capabilities and adaptability when it comes to producing robust and movie-grade animations, in contrast to other animation tools like Blender, Autodesk 3DS Max, or Maya. Nonetheless, Animator is an excellent option for quick and easy presentation-style animations to highlight assemblies and mechanisms.
It is significantly more similar to engineering-related CAD animators, such as the animation tool included in SolidWorks than it is to the earlier listed tools. In SketchUp 6 and later, the Animator extension is compatible, but not with the web-based application.
Making an animation using the Animator extension
It is important to understand the Clip Editor because that is where most of your animation work will be done. By opening the clip editor, you will be brought to its interface.
After opening the clip editor, you can create animations for objects by following these steps:-
1. Choose "New Movement" after clicking the symbol for adding a new movement.
2. To animate certain things, simply click them. A list of grouped objects will appear after being selected. Choose the group that you wish to move as a unit.
3. Your group names. This is crucial since it will make choosing them simpler. By hovering over a group's name, which highlights the items that are a part of it, you can view the objects that make up that group.
To learn more, watch the following video tutorial.
Video Source: TheSketchUpEssentials
Each animation can be customized by choosing the distance, the speed, and the axis of movement.
After animating, save the animation by clicking the check symbol. Give the animation a name so that you can locate it more quickly in the Sequencer. As your project progresses, the timeline may get disorganized; by giving items names, you may subsequently discover and edit them as necessary.