Drawing Angled Walls using SketchUp

Drawing an angled wall in SketchUp without the degree known can be tricky. But you can use the following technique to easily draw angled walls in sketchup.
No graphing calculator handy? Don?t have an angle finder ruler? You can draw an angled wall if you record enough field dimensions. We?ll use a bay window as an example. Note: Because some of these measurements can be tricky to record, this isn?t an exact science. If you are drawing spaces for ordering custom pieces such as cabinetry, be sure to find the exact angle.
When your drawing reaches the start of your bay window, first measure the distance from the start of the bay window to the opposite end, as well as the depth of the shape created on the floor.
Next, imagine there is a triangle with a right angle on the ground (in this case two triangles,) you?ll refer to the measurements of the adjacent (1?-9? in this example).
Continuing with your drawing, add guidelines to mark out those measurements. The goal is to create guideline intersections at each angled corner.
Now using the line tool connect your lines from endpoint to intersections to endpoint.
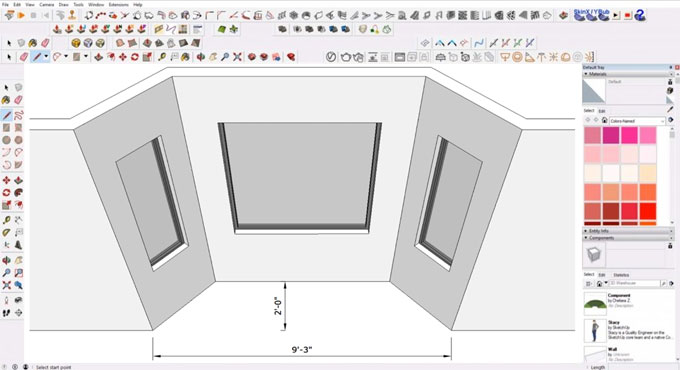
Once your edges are connected and you?ve created a face, check the lengths of each wall segment to check your work. Next you can use the Offset tool to create wall thickness. Be sure to keep wall thickness edges parallel so that windows and doorways can easily be created in 3D.
Which measurements will you need when taking field measurements? Your field measure drawing should look something like this:
This may seem like a lot of dimensions to record, but without the angles known, they are necessary. Again, when drawing a space where precision is necessary, be sure to refer to the exact angle and use SketchUp?s protractor tool for accuracy.
To get online demonstration, watch the following video tutorial.
Video Source: RubySketch