SketchUp: Making a Wooden Planter

SketchUp is an excellent 3D modeling tool. It is widely used to make 3D models of various designs of various projects. Honestly, the possibilities are limitless.
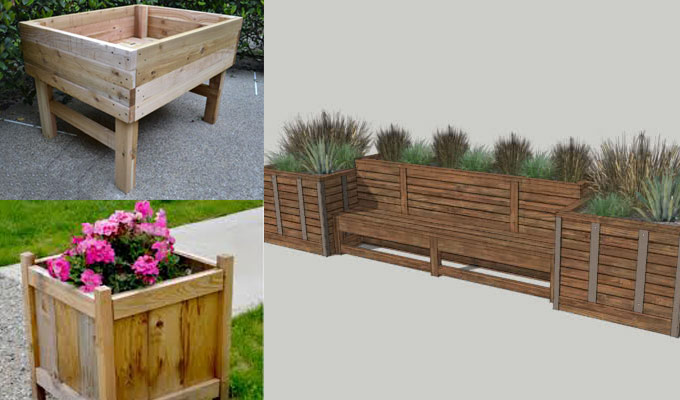
Today we are going to learn, how to make a Wooden planter in SketchUp.
This skechup plugin is compatible with sketchup 2016.
Step 1: Press ?R?. This opens up the rectangle tool.
Create a rectangle.
Step 3: Enter the desired dimension of the rectangle.
Step 4: Press ?P?. This brings up the ?Push ? pull? tool.
Step 5: Push/pull the rectangular surface.
Step 6: Enter your desired dimensions.
Step 7: Triple click on the object to highlight it.
Step 8: Press ?G?. General dialogue box opens.
Step 9: Click ?Create? to make it a component.
Step 10: Double click the object to go inside it to get into each individual faces and lines.
Step 11: Press ?M? for move tool.
Step 12: Rotate the object 90 degrees downwards.
Step 13: Press ?B?. This enables the brush tool.
Step 14: Select one of the preloaded textures of your choice.
Step 15: Fill the entire component with the texture.
Step 16: You may add ingrains on the ins.
Step 17: Press ?M? to open up the move tool.
Step 18: Click the object and press ?alt?. This will duplicate the object.
Step 19: Now that we have two separate posts, you may place them parallel to each other at a desired distance.
Step 20: Repeat step 17 and 18 to make another copy of the object and place it in the middle.
Step 21: Use the move tool to rotate the middle post and Shift it the side and be right angle to the previous two posts.
Step 22: Copt the 3rd post and move it to the other side. By now, you should have a square.
Step 23: Make the square into a Group.
Step 24: Press ?M? and ?Alt? to make a copy of the group.
Step 25: Now again select the move tool, and rotate the second group 90 degrees along the axis of the square and stack it on the first group.
Step 26: Duplicate it again and move the new copy up stacking it. You may do it as many times as you want.
Step 27: Select the rectangle tool to create a closed base for the box.
Step 28: Paint the base with a texture like before.
Step 29: Use the rectangle tool and push-pull tool to make the legs.
Go through the following video tutorial to gather more knowledge.
Video Source: www.youtube.com