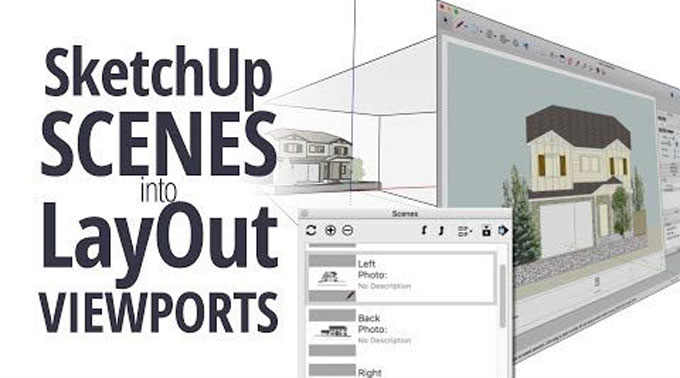
How to Connect SketchUp Scenes to LayOut Viewports
Sketchup scenes ane LayOut viewports are both very useful tools that you can use to scrutinize your model. But did you know that creating scenes are very useful when you want to work with viewports? When you are working with multiple SketchUp model viewports, it is a really a master level trick to create and connect corresponding scenes in the SketchUp model.
If you are an experienced user, the need for this should be fairly clear by now to you. If you are not sure why you need this, here goes why you should create corresponding scenes to use multiple viewports.
When you use LayOut, viewports are a good idea to see your model from any angle you need. Indeed, it is easier in LayOut to zoom, pan and orbit the camera / pov than in SketchUp. However, all that agility is lost the moment you close the viewport ? there is no way to save a particular view in LayOut.
But you can create and save Scenes in SketchUp, no? So, the trick is to get the particular angle or point of view you need in SketchUp, save it as a scene, and then associate it to LayOut. This way, next time you open the document, you can jump directly to that view instead of wasting time in mucking about with the camera.
You can create a SketchUp scene and connect it to LayOut viewport by following the steps given below.
Step 1: In LayOut, choose your viewport, right click it, and select ?Open with SketchUp? in the context menu that appears.
Step 2: SketchUp opens. Now, use the camera control shortcuts (or the navigation tools) to find the perfect view you wanted.
Step 3: Click ?View?, then click ?Animation?, then select ?Add Scene?. This will save that point of view in the model. You also have to save the file to make the changes last.
Step 4: Get back to LayOut. Right click the same viewport again, and in the context menu that appears, there will be a new entry as ?Update Reference?. Select that.
Step 5: Now with the correct viewport selected, click on ?Window?, and then select ?SketchUp Model?. This will open the Sketchup model dialog box.
Step 6: In the newly opened dialog box, you can select the scene you saved in the model from a list of scenes from a drop-down list in the ?View? tab. Select the one created in step 3 above, and that?s it! That scene is now by default locked with that viewport.
Now, all of the above was just for boosting productivity (and dazzling a few colleagues), of course, but it is quite optional. LayOut would function the same whether you associate a scene with the viewport or not. It isn?t actually necessary, just better. However, there may come a few scenarios when you must do it, mandatorily.
For example, when you are dealing with Section Planes, you may have noticed that you cannot create section planes in LayOut. Neither can you activate or deactivate a pre-made section plane. In this scenario, making a scene (not that way!) is the only way you can handle section planes in LayOut.
Here, you would need to create two scenes for these two views in SketchUp, the second being a horizontal section plane of the first floor. Then, as described in the previous method, link the two scenes to two viewports in LayOut. Then you just open LayOut, insert these viewports in the respective page, and you?re done. See how easy but needful that was?
To be entirely honest, you can actually show and hide section panes in LayOut, by mucking around a lot with the Styles. However, not only that is painfully complicated and a lot of trial-and-error, you still can?t use more than one section cut in the same document in that way! I?d stick to scenes if you don?t mind.