How to make a Roof with Displacement Mapping in V-Ray for SketchUp

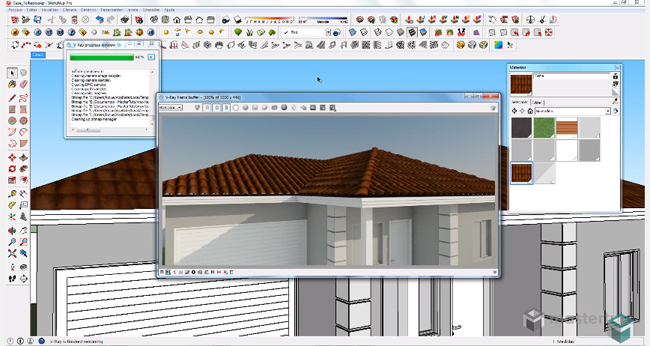
This is an exclusive video tutorial for vray for sketchup users that shows how to produce a roof with mappings. This is one more breeding method that is mostly utilized in SketchUp devoid of tiles 3D models.
Displacement facilitates the users to reproduce the texture of a surface with a black and white image to define the changeable height of the surface. This has the same functionality as is very similar to how bump mapping, but each method performs it in a diverse manner. Bump mapping just moves the surface relative to the image used on it, devoid of actually modifying the geometric structure of the surface. Conversely, displacement actually generates the geometry that is defined by the image.
This is accomplished by subdividing a specified piece of geometry and correcting the individual heights of all of the faces on the basis of the image that it is narrating. Thus a surface is obtained that creates a much more precise and genuine result.
How to add Displacement: The users can most likely apply their existing bump maps as displacement maps. In the Maps rollout of the material options there exists an option for Displacement. Click the checkbox on the left to activate as well as continue to click on the "m" to include a displacement map. Even though textures are applied for displacement maps in most cases, a displacement map can be added through the procedural mapping.
As soon as a texture or procedural mapping is included, the users have to focus on the multiplier while remaining in texture editor. The multiplier can define the final size of the displacement that will reference the Amount value in the Displacement rollout.


