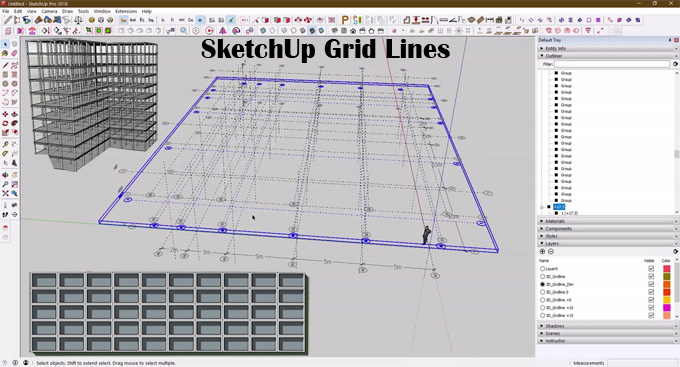
Step-by-step Guide to Creating Grid Tool in SketchUp

The Grid tool for the SketchUp software has been designed to create grids within the SketchUp models. With the help of the Grid tool, the users are able to create 2D, 2.5D and 3D grids within the SketchUp software. The Grid tool of the SketchUp software has been compatible with SketchUp 2022 and SketchUp 2023, and supported by both Mac and Windows.
On the other hand, the 3D Grid tool of the SketchUp software is compatible with SketchUp 2016, SketchUp 2017, SketchUp 2018, and SketchUp 2019, and supported by Windows. The supporting language for the Grid tool is English, whereas the supporting languages for the 3D Grid tool are both English and French.
The Grid tool of the SketchUp software helps to create a series of squares, which enables users to plan their design models. In this case, the users do not need to worry about the sticky geometry, as that can be shown or hidden easily. With the help of the Grid tool of the SketchUp software, users are able to create grids at any orientation on any plane.
Design features of the Grid Tool for SketchUp Software
Visibility control feature
The Grid tool of the SketchUp software has the visibility feature, which can be toggled on and off. This visibility feature enables users to hide the grid and focus on the other design aspects of the SketchUp model.
Line/point representation feature
The Grid tool of the SketchUp software helps to display the grid as lines or points, which provides flexibility to the grid visualisation.
Guide lines
The grids have been created on the basis of the grid lines, which serve as the visual aids for alignment and measurement.
Parametric grid features
A certain extension of the Grid tool offers the creation of a parametric grid, which enables the dynamic adjustments to the grid's parameters.
Integration feature
The grid that has been created with the help of the Grid tool can also be integrated with other SketchUp tools, which enables the achievement of advanced grid-based modelling.
Effectiveness of using the Grid Tool for SketchUp software
Increased visualisation
The Grid tool enables users to visualise the spatial relationships among the design elements in their SketchUp models and thus, they can plan the design layout more effectively.
Improved design workflow
The Grid tool also helps to provide a framework for modelling, which can streamline the entire design procedure, as well as reduce the risk of design errors.
Accurate placement
The Grid tool of the SketchUp software helps to provide a reference to align the design objects. This feature also helps to maintain the design proportions, which leads to achieving more precise and accurate design outputs.
Effective communication
The Gridtool helps to create a well-structured grid, which helps to provide a clear visual representation of the design model, thus improving communication with the clients.
How to download the Grid Tool for SketchUp software
Several steps need to be followed while downloading and installing the Grid tool for SketchUp software. These are as follows:
➢ At first, the users have to visit the SketchUp Extension Warehouse and then the users have to search for the “Grid Tool” in the search bar.
➢ In the next step, the user has to select the appropriate extension for the Grid tool and has to click on the download button.
➢ After downloading the Grid tool, the users have to open the SketchUp software.
➢ Then, the users have to go to the “Extensions” option and have to click on the “Extension Manager” option.
➢ In the next step, the user has to click on the "Install Extension" button to begin the installation procedure.
➢ After that, the user has to locate and select the downloaded .rbz file and click on the open button to complete the installation procedure of the Grid tool for SketchUp software.
Process of using the Grid Tool for SketchUp software
For using the Grid tool for the SketchUp software, the users have to follow the following steps:
1. At first, the user has to select the Grid tool from the SketchUp toolbar.
2. In the next step, the user has to click on the workspace of the SketchUp software to define the starting corner of the Grid.
3. In the next step, the dimensions of the grids need to be set. In this context, the user has to move the mouse to define the width of the grid and has to click again to set the dimension. After that, the user has to move the mouse perpendicularly to the width to define the length of the grid and has to click again to set the final dimension of the grid.
To learn more, watch the following video tutorial.
Video Source: SKALA Studio
Download Grid Tool for SketchUp
4. After setting the dimensions, the user has to put the desired spacing value of the grid in the measurements box and has to press Enter.
5. After that, the grid has been created based on the dimensions and spacing value given by the user.