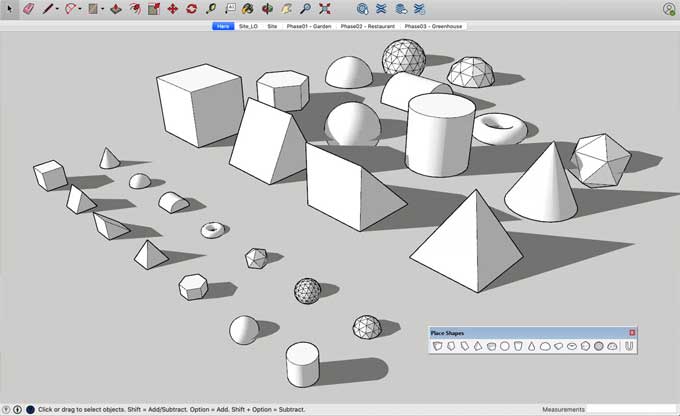
How to create a few specific 3D models & shapes using SketchUp?

In SketchUp, there is a constant switch between drawing tools, views, components, organizational tools, as well as drag-and-drop to create a 3D model. Throughout this article, you will find several examples of how both of these tools can be used together to model a specific shape or object using a combination of both of them.
Making Bowl in SketchUp
A bowl can be created by drawing a circle on the ground plane and then drawing a profile of the bowl's shape directly above the circle that identifies the bowl's shape. Once you have turned the outline into a bowl by following the original circle on the ground plane, you can then use the Follow Me tool to turn it into a bowl by using it as a guide.
Steps to make a bowl
1. Create a circle on the ground plane by using the Circle tool. It is easier to follow these steps if you start with the origin point of the drawing axes.
2. After moving the mouse cursor up the blue axis, glide the mouse cursor over the origin so that the cursor snaps to the origin.
3. Perpendicular to the circle on the ground plane, draw a circle starting from the blue axis. You can lock the inference by pressing and holding Shift while the Circle tool remains in the green or red direction.
4. The offset distance represents the thickness of the bowl. Use the Offset tool to offset this second circle.
5. Using the Offset tool, create an inner circle and divide it into two lines with the Line tool.
6. Make sure that the face that represents what is inside the bowl and the top half of the second circle is erased using the Eraser tool. The bowl's profile will be ready when you're done.
7. Select the circle's edge on the ground plane with the Select tool.
8. Click the profile of the bowl using the Follow Me tool. Delete the ground plane circle once your bowl is complete.
Making Cone shape model in SketchUp
Using the Follow Me tool in SketchUp, you can either resize and extrude a triangle along a circular path, or you can resize a cylinder face and extrude it along the corresponding circle.
Steps to make a cone
1. Draw a circle using a Circle tool in SketchUp.
2. To extrude a circle into a cylinder, use the Push or Pull tool.
3. Then Select the “Move tool”.
4. The figure on the left shows the location of a cardinal point on the top edge of the cylinder. Using the cardinal point as a resizing handle, you can align the red and green axes.
5. Until the edge becomes a cone-shaped point, move it towards its center.
6. The cone will be completed when you click at its center, as shown in the figure on the left.
Making a Pyramid shaped roof
Using SketchUp, you can easily create a hipped roof, which is essentially a pyramid that is shaped into a hipped roof. A simple one-room house is also shown in this example, along with how the roof is added as well.
Steps to make a Pyramid shaped roof
1. Make sure your rectangle covers your building by using the Rectangle tool.
2. You can draw a diagonal line between two corners using the Line tool.
3. Using another diagonal line, connect the two corners.
4. Once the Move tool is selected, and a green inference point has been displayed on the display, glide over the center point.
5. Select the center point.
6. The roof of the pyramid or the roof of the house can be raised by moving the cursor upwards.
7. You can complete the move by clicking when your roof or pyramid has reached the desired height.
Making a chair-shaped structure
Here are the two methods to draw a chair in SketchUp:-
Subtractive: Use the Push and Pull tool to cut away the chair shape from a rectangle that is the size of the chair.
To learn more, watch the following video tutorial.
Video Source: Best Video Tutorials and Help from HowTech
Additive: Create the seat of the chair first, then use the Push or Pull tool to extrude the back and legs.